
Welcome to Spring Semester or Winter Quarter everybody!
A new term means new students, new courses, and new spreadsheets to keep track of everything! Today I just wanted to share two quick things I use to organize my class spreadsheets. This works in Excel, OpenOffice, and LibreOffice. I’ve never used Numbers, but it probably works there too. Later this month I’ll share a small amount of programming that will help you calculate final grades at the end of the course! :)
You probably start off with a spreadsheet that looks like this:
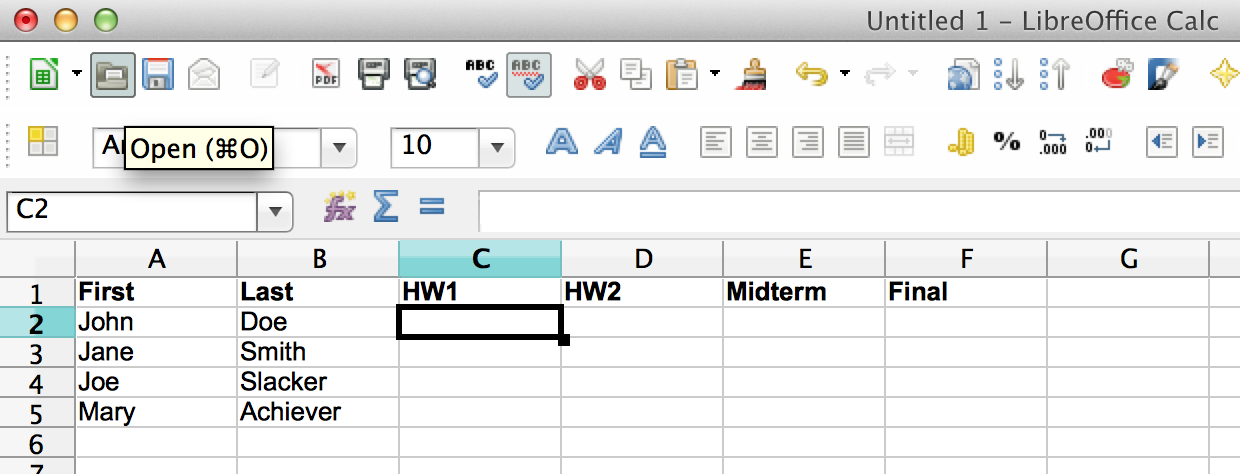
Pretty simple. You have your students’ names in the rows, and all the assignments for the course in the columns. You maybe have this automatically created for you through your course registration portal or through something like Moodle or Blackboard.
This is fine since there’s only four students and four assignments in this example. But some spreadsheets get a lot more intense. You might have columns for your students’ ID numbers, emails, major, class standing, and a column for each and every day’s attendance. You might have 100 or 1000 students. So how can you not get overwhelmed by so much data?
The first thing I do is called “freeze frames.” First, select the cell that is to the right of data you always want to see, and below data you always want to see. I my case, I always want to be able to see my students’ names, and the name of the assignment. So, I select cell C2.
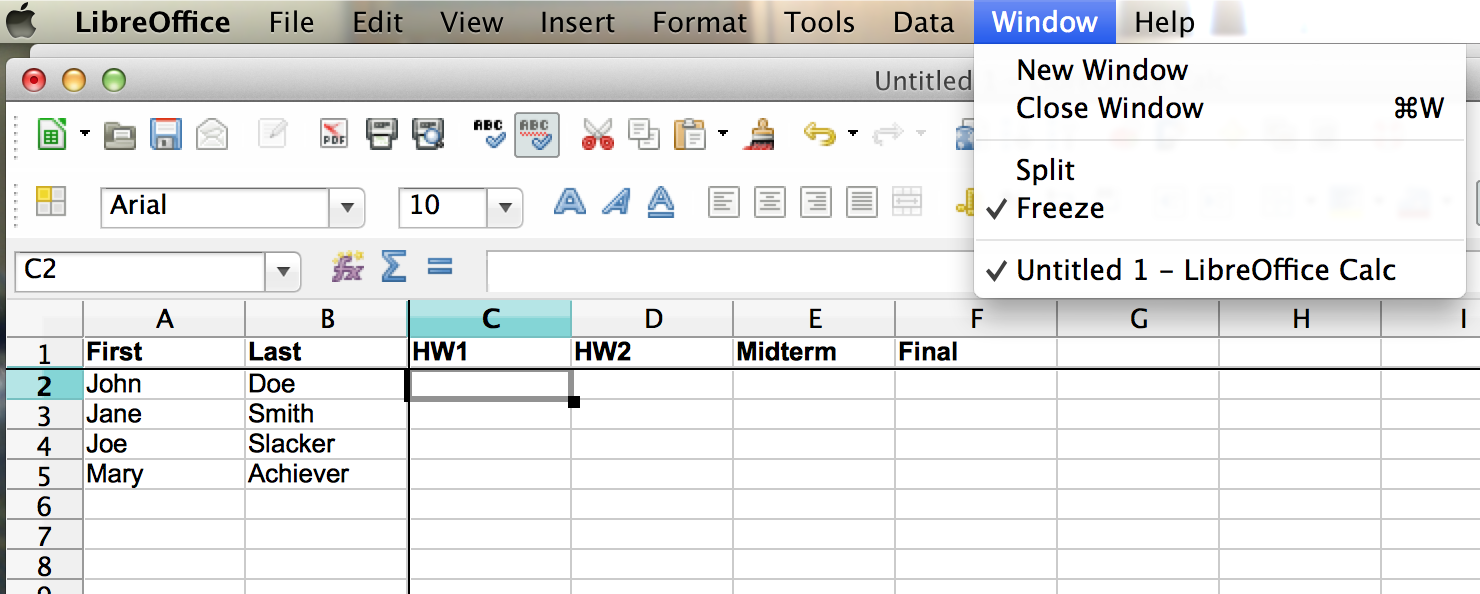
Next, on LibreOffice, go to “Window” and check “Freeze.” On Excel or other spreadsheet programs, it depends on what version you have, but googling your version of Excel and “freeze frames” should give you the instructions.
So why did I freeze frames? Now when I scroll up and down, I can always see the name of the assignment. So if I have 100 students, I can scroll down to student number 80 and still see the first row (which has the assignment name). I can also always see my students’ names. So if I have 20 assignments (say, daily attendance records), I can always scroll left and right and still see my student’s names. Like this:

I was able to scroll down and right to the cell that has Mary’s final exam score, while still seeing the column headers and students’ names. This is super useful for big spreadsheets!! I don’t use it just for class, I use it for research data too!
The second thing I do to organize my spreadsheets is color every other row. This makes each row visually distinct, and helps prevent accidentally entering a score for the wrong student.
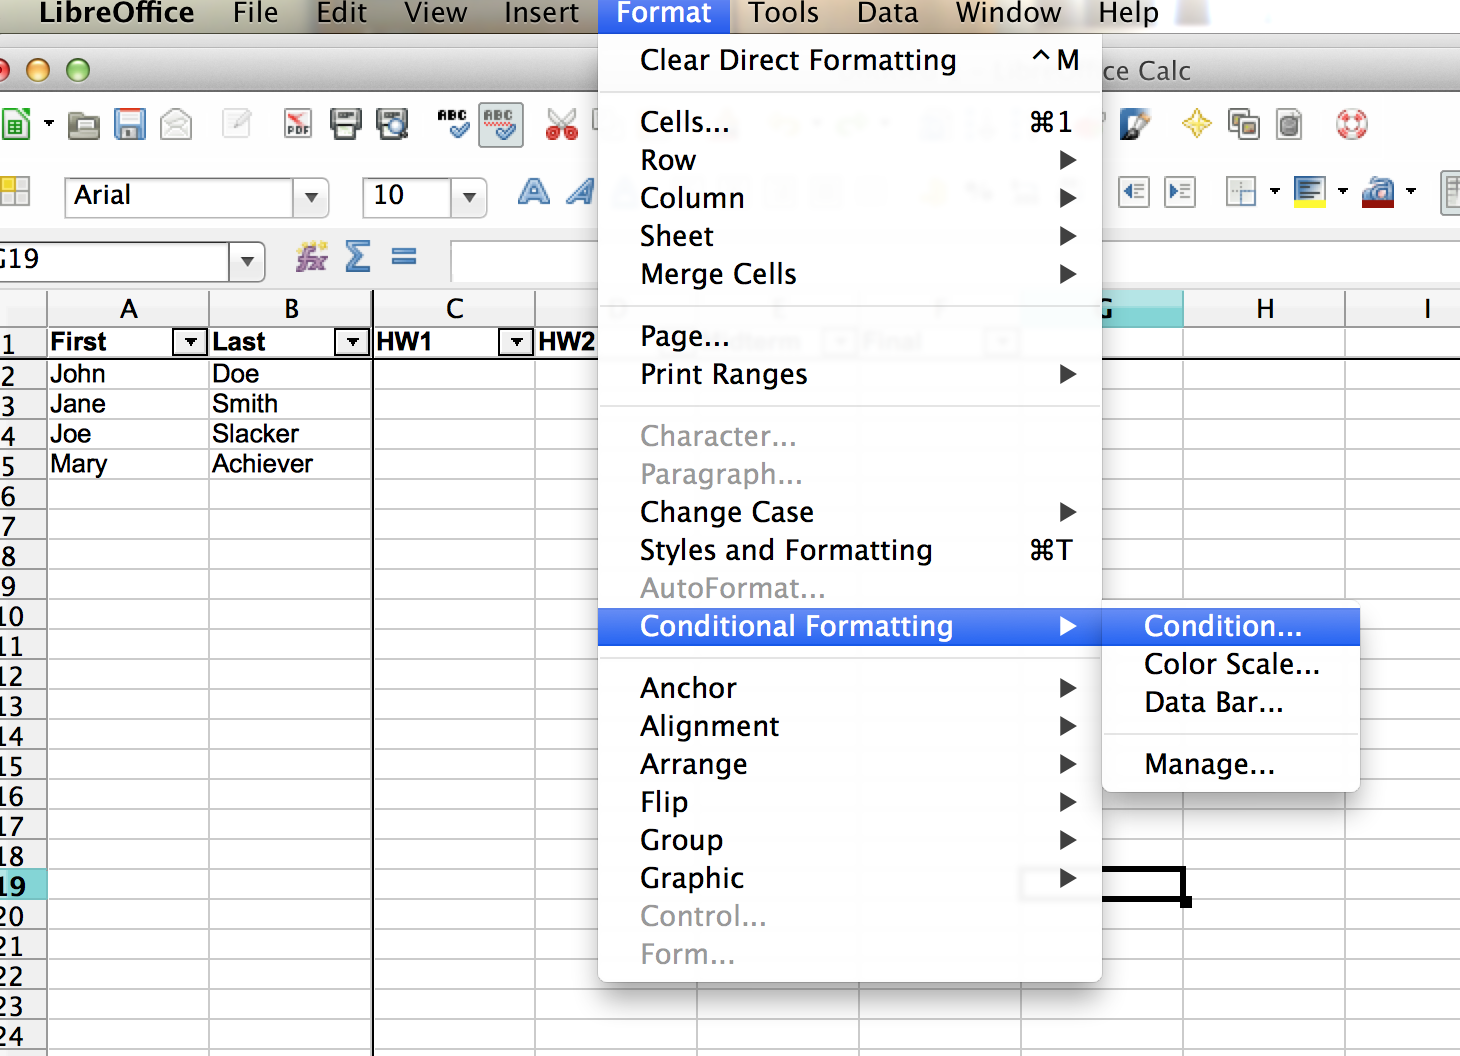
First, select all the cells using CTRL+A or CMND+A or similar depending on your operating system and program. Next, on LibreOffice (again, you may need to do something different on other programs), select “Format” and then “Conditional Formatting” and then “Condition…”
Next, add a new condition. Choose “Formula is” and type “=mod(row(),2)=0” into the formula bar. This is basically saying the condition is if the row number is evenly divisible by 2 (see also: modulo). Next, choose what style you want to apply to the even rows by selecting “New Style…”

The style I usually go for is a pastel background. Here, I chose a nice pale yellow by going to the “Background” tab and choosing the color. You can do whatever style you like.

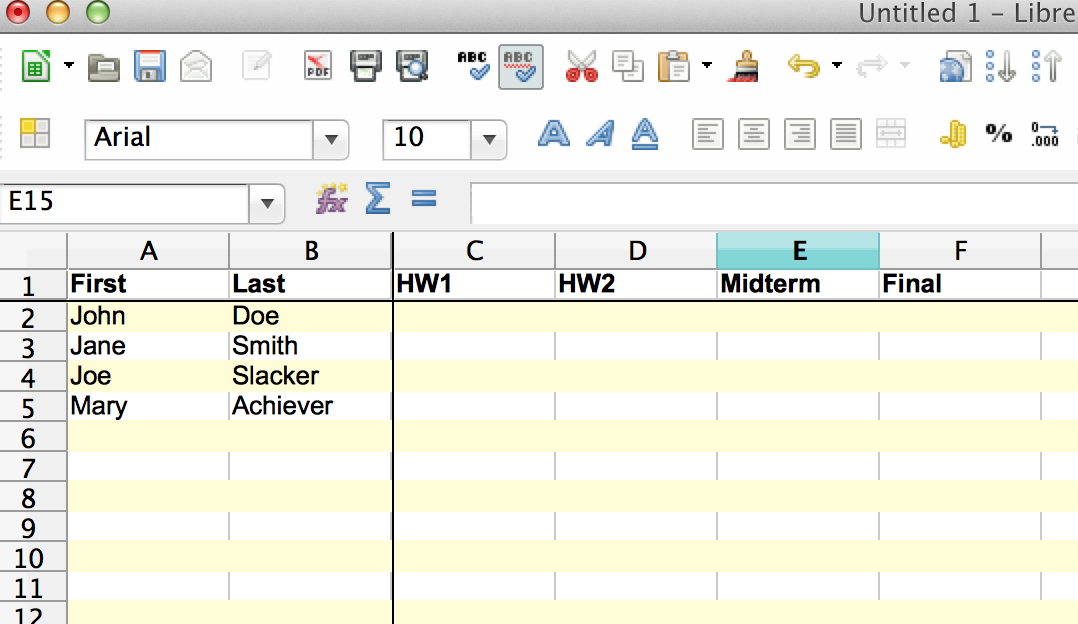
Press “OK” or “Apply” or whatever. And that’s it! You’re done! Now every other row is colored, so you can easily distinguish one student from the next! Again, you can use lots of different conditions for research or teaching purposes. For example, you could make any cell with a value greater than 100 become red. That way, you’d be alerted if you accidentally gave someone an 800% on an assignment they earned 80% on. You could also use this to highlight outliers in your research data.
Yay! What a nice organized spreadsheet to kick off the new year with!!
You must be logged in to leave a reply.